


WORKFLOW
The complete production
process of P-501,
the masterpiece of
the BJ CLASSIC COLLECTION
The latter part
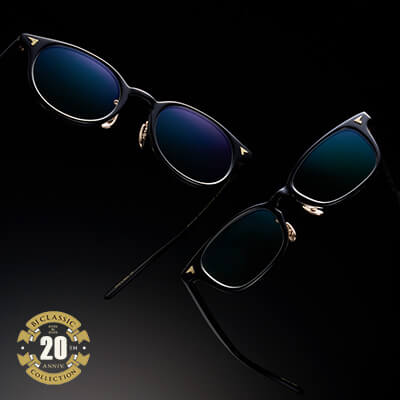
BJ CLASSIC COLLECTION started in the early 2000s.
P-501, one of the most famous models of the lineup,
harbors its soul through four-month-long production period.
Here we will introduce the complete process of P-501,
which starts from a piece of celluloid.
PROCESS
8
Polish With Mud
We polish all parts
with a high-quality abrasive mud.
After the first “Gara”, we polish all parts carefully. We mix the abrasive powder with water and then malaxate.
By polishing the parts with this fine-grained high quality "mud," we are able to bring out the potential gloss of celluloid even more.

PROCESS
9
"Chukan-Gara
and "Tsuya-Gara"
The second and third "Gara."
After polishing with “mud”, all of the parts will be put in an additional "Gara" twice, with a different composition for each time.
Normally a "Gara" process lasts 4-5 days, but we do it for more than a week. More precisely, it takes a week for front frames, and another week for temples.
PROCESS
10
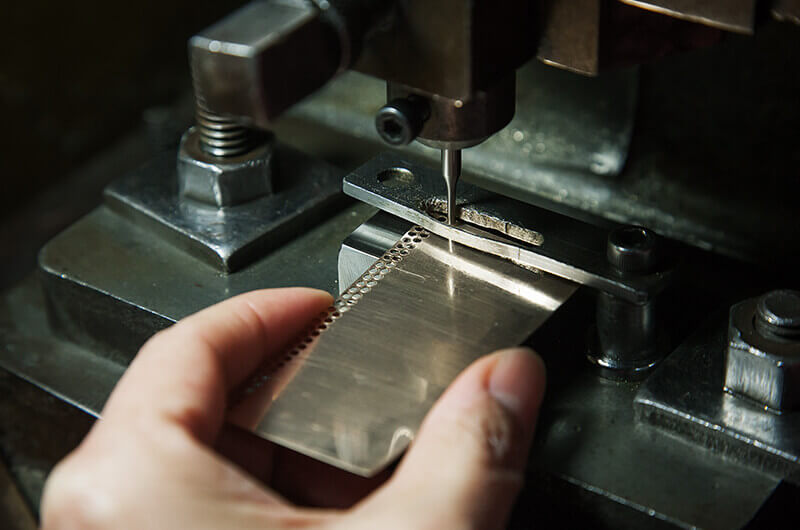
Mount Caulking Pins
For Hinges
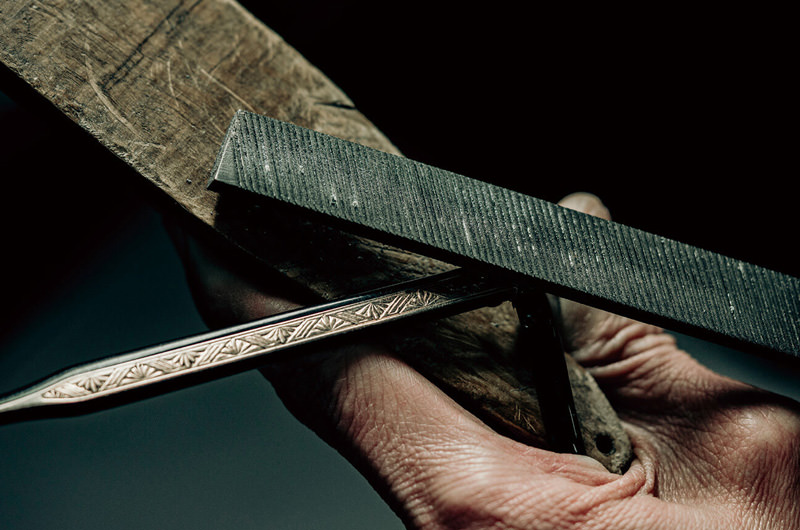
Star-shape is not a mere design.
As a reference point for placing hinges, we mount caulking pins on the temples.
With the core metal inside the temples, we balance the position of hinges and caulking pins.
The star-shape is not only for design, but for stabilizing hinges, as the edges of the pins will latch into the temples.

PROCESS
11
Place Hinges
Our craftsmen take advantage of
their experiences and intuitions, once again.
Our craftsmen place hinges onto the frames by using electric heated machines.
Again, 170ºC will be the key for the good results.
Our craftsmen look for the perfect timing and proceed through the process carefully.
PROCESS
12
Polish With Mud Again
We polish and polish again.
We polish the joints with “mud” to balance out the connecting surface of fronts and temples.

PROCESS
13
Final Polish
The last stage of polish
to make them shine.
After the second “mud” polishing, we disassemble the frames into fronts and temples, and then we polish all parts to make each one shine. After this process, we reassemble the frames and polish again.
What makes BJ special may be these uncompromising polishing processes.
Celluloid frames shine brighter and shed beautiful light.
PROCESS
14
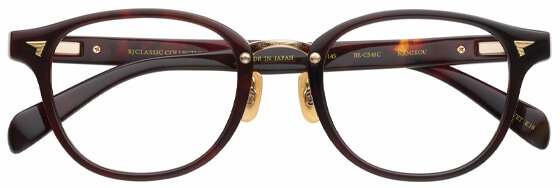
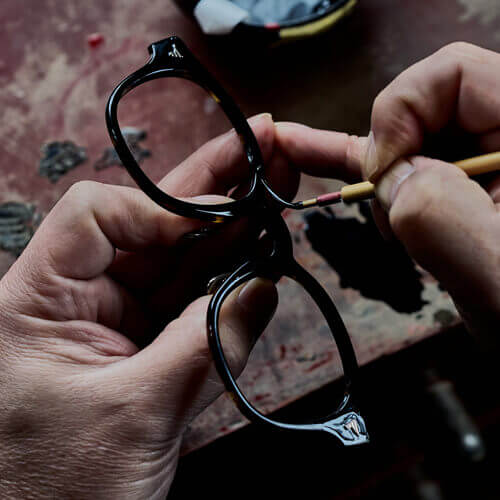
Place The Front Studs
We place our symbol to the frames.
To add our brand’s own touch, our logo, inspired by the bald eagle, will be placed onto the polished frames.
PROCESS
15
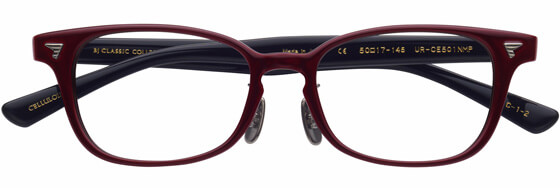
Stamp Our Brand Name
Stamp our brand name to the frames.
It is possible to stamp our brand name only after completion of all of the processes we mentioned above.
In the end, we only stamp the frames that have qualities of which we are proud.
PROCESS
16
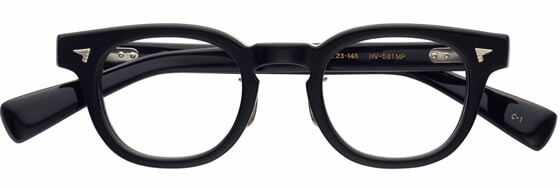
Inspection
Go through the final exam.
We inspect our products after stamping.
The balance and details of the products will be checked by the craftsmen who made them. We have a responsibility to deliver the product as well as "perfection" to our customers.
After going through this final process, the strong presence of our products that will last for 100 years is made.
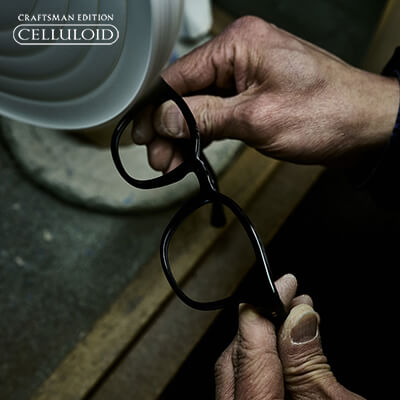
OTHERS
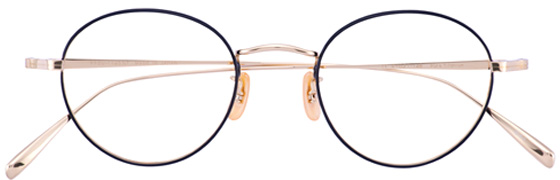
Craftman Edition
"SHINBARI"
Achieving the aspect of one of a kind thing by hand work of Sabae craftsmen.

The Entire Process of crafting
BJ CLASSIC COLLECTION
Celluloid Frames
BJ CLASSIC COLLECTION was born in the early 2000s. The celluloid frames takes about one year to be crafted, gaining its soul as eyewear.
6 points representing
BJ's persistence
You can find BJ's persistence and attention to detail in many areas other than in our celluloid frames, like P-501.